Vive Facial Tracker#
This article shows how to set up a Vive Facial Tracker and get it working in VRChat on Linux.
Who this article is for#
- Hardware: Vive Facial Tracker (the square one, not the Focus 3 one).
- Software: Baballonia, VRCFaceTracking (avalonia beta branch), VRChat.
- You don’t mind getting binaries from Steam, instead of building from source.
- You are playing VRChat specifically (this doesn’t cover Resonite yet).
Steps#
Set up Baballonia#
- Install Baballonia from Steam.
- Connect the Vive Facial Tracker via USB-C.
- Launch Baballonia.
- Click the dropdown labeled Face Camera Address.
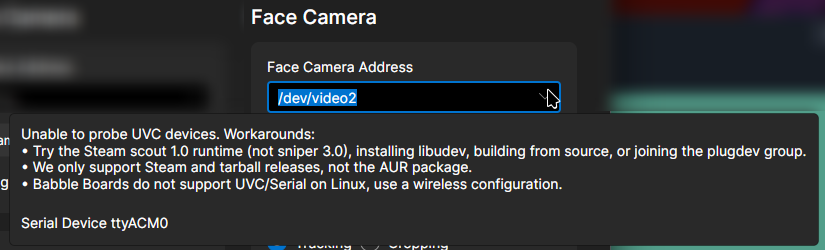
- If you get the warning about “Unable to probe UVC devices”…
- Go back to Steam.
- Right-click Baballonia → Properties
- Set the compatibility tool to one of the following, whatever you have available:
- Legacy Steam Runtime
- This option is known to work the best.
- Steam-Play-None
- Steam-Play-None must be installed first. Follow the README for instructions. Restart Steam if necessary.
- Steam Linux Runtime 1.0 (scout)
- This is what the warning popup recommends, but it didn’t resolve the probe UVC warning for me.
- If you don’t see this in the list, install it by typing “scout” in the search bar in your Steam library, then restart Steam.
- Heck, just restart Steam anyway. It tends to hide itself when you move it to a different drive, too.
- Legacy Steam Runtime
- Restart Baballonia, and restart the steps from the beginning.
- If you get the warning about “Unable to probe UVC devices”…
- Look for the “HTC_Multimedia_Camera” and, in the parenthesis, note the number after “video”.
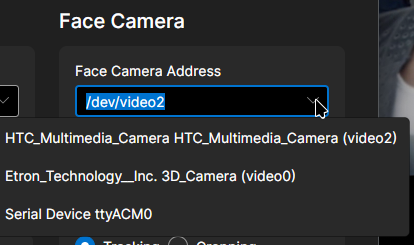
- Manually type in the device file path of the HTC_Multimedia_Camera, based on what’s in the parenthesis.
- e.g. if it says (video2), type in
/dev/video2.
- e.g. if it says (video2), type in
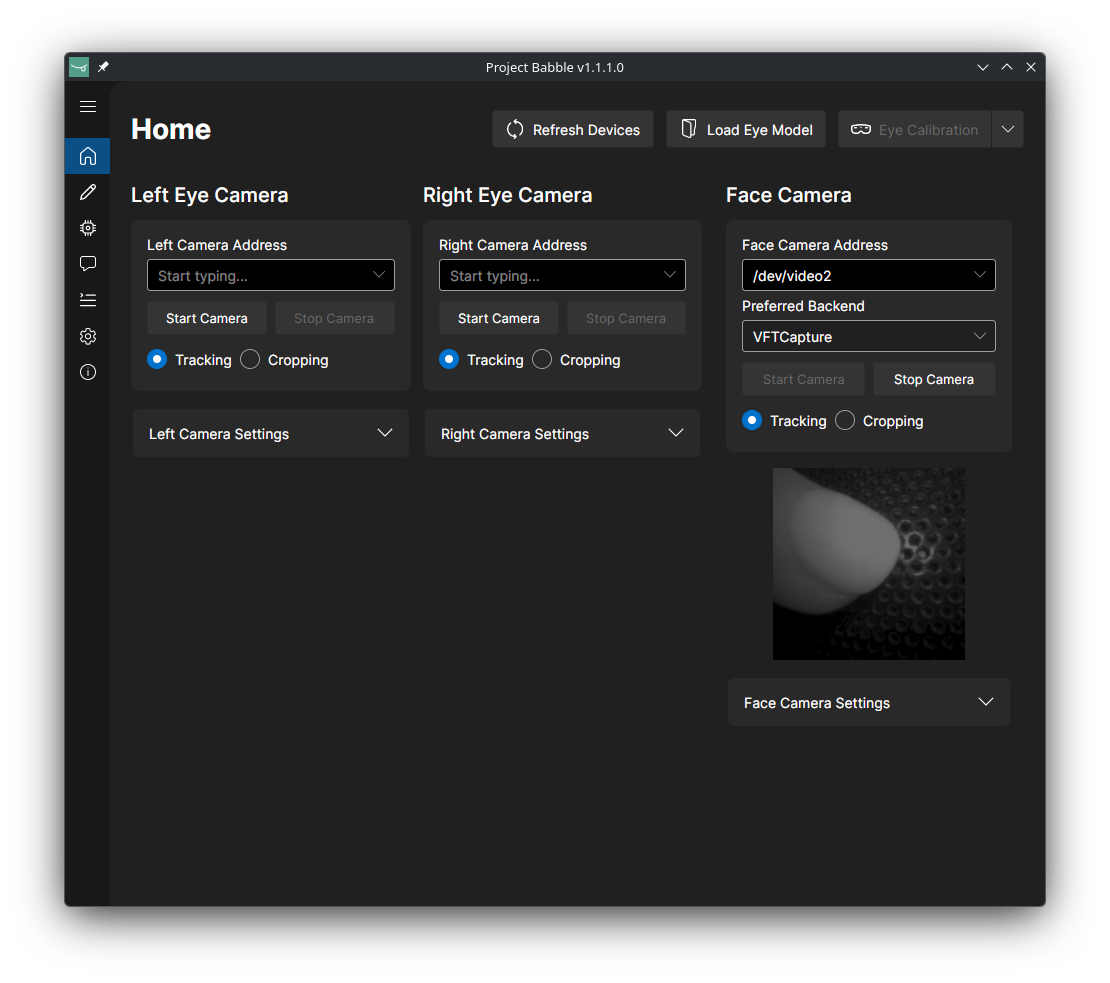
- In the Preferred Backend dropdown that appears, set it to VFTCapture.
- Click Start Camera. You should be able to see a live feed appear below the button.
Set up VRCFaceTracking#
- Install VRCFaceTracking from Steam.
- Right-click VRCFaceTracking → Properties.
- In Game Versions & Betas, select the avalonia branch.
- At the time of writing, “Last Updated” was Jun 22, 2026.
- You do not need a compatibility tool for this branch, it is native Linux. Leave the compatibility tool option unchecked.
- Launch VRCFaceTracking.
- Open the Module Registry in the sidebar.
- Find the VRCFT-Babble module, and click Install. Nothing may appear to happen, but the Output logs will say “Installed module”…
- Restart VRCFaceTracking.
- Project Babble Module should have automatically started itself as the active module.
Using Baballonia and VRCFaceTracking together#
- Just to be safe, shut down Baballonia and VRCFaceTracking if they are running. The stack has historically only worked with this specific launch order.
- Launch VRChat first.
- Ensure VRChat OSC is enabled in the main menu → Avatars → OSC.
- Launch VRCFaceTracking.
- It should detect your avatar name and ID. The OSC Connection may say 0 msgs/s in/out, this is okay.
- VRChat should pop up a notification saying VRCFT has connected via OSC.
- Launch Baballonia last!
- This bears repeating: Baballonia must open after VRCFaceTracking for this to work.
- It should show the live camera feed as ususal.
- VRCFaceTracking should now be sending a few hundred msgs/s out.
- Face tracking should be working now!
Images#
Baballonia fully set up, showing a live feed:
Troubleshooting#
Unable to probe UVC devices#
If you get the following popup “Unable to probe UVC devices”, you must set the compatilibility tool as described above in #Steps.
VRCFaceTracking connects to VRChat OSC, but face doesn’t track#
If VRCFaceTracking is started after Baballonia, it won’t work. It will detect your avatar and connect with OSC, but it will be stuck on 0 msgs/s in/out.
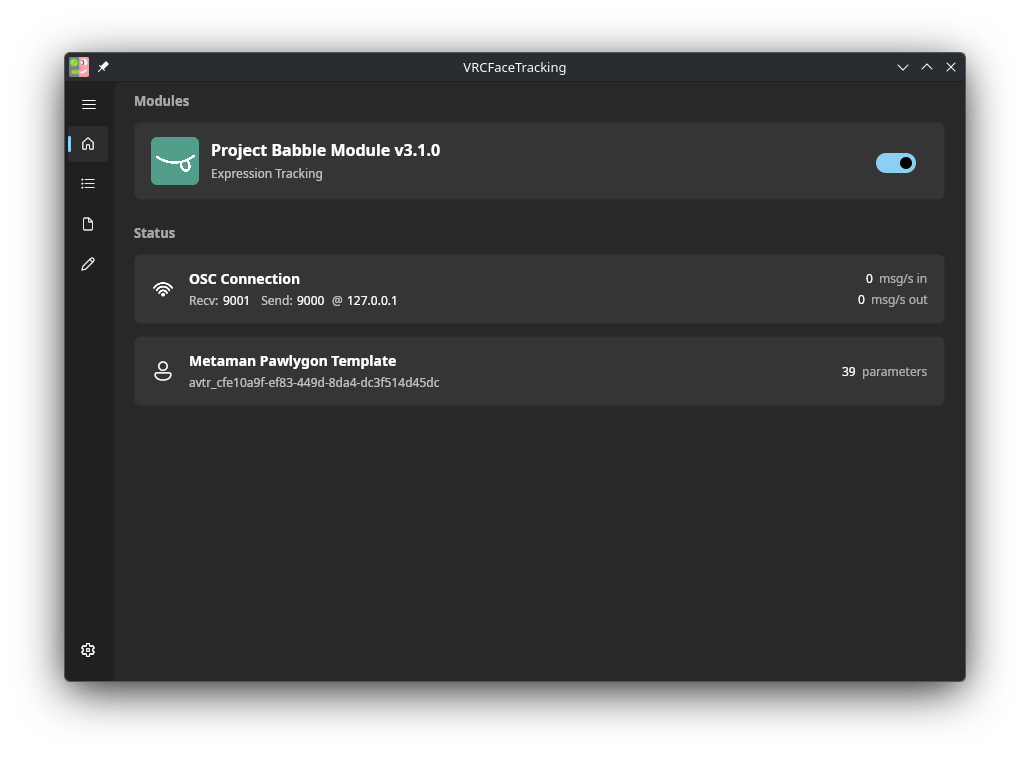
The solution: restart Baballonia once. Generally, Baballonia must be started after VRCFaceTracking.
Clicking Stop Camera in Baballonia will crash it#
This is a known issue. You just have to start Baballonia again.